The only anti-aging face oil serums worth using are the ones that cost hundreds of dollars, right? Wrong! Why spend your hard earned money on something that you can make at home, for a fraction of the cost but with excellent results? Well today I’m going to show you how to do just that with my DIY face serum for glowing skin.

My homemade face serum recipes are seriously strong stuff, much stronger than the DIY face oil moisturizer, it gets to work on those facial lines that we hate, actively protecting against new ones forming. Not only will it restore your youthful glow, but it will nourish and hydrate your skin as well. All this using just natural ingredients, what’s more to love?
Well, if you’re not convinced…
The top reasons to use a homemade face serum
- Europe got us all talking about face oils serums, and now the whole world is starting to buzz about them! More and more Americans are taking the plunge and giving them a try, and having fantastic results. Now you can get yourself in at the ground floor of a skincare breakthrough with a homemade product that will nourish your skin while also being proven to slow the signs of aging, hydrate, smooth out unwanted wrinkles and tighten facial skin.
- I could go on and on about the benefits of this type of product, but the real reason I want to evangelize the world into using homemade face serums is that they’re so much better for you. Why take the risk of using a product that we know is packed full of chemicals? Go natural, the only difference you’ll notice is better looking skin.
- The MASSIVE savings! Who doesn’t love a bargain? Think of that cruise you’re saving for, or that nursery you’re trying to decorate. I’ve estimated that you’ll benefit from a 90% saving by making your own face serum, as opposed to wasting your dough at your local drugstore.
Natural products never have good shelf lives, right? Again that’s wrong, they absolutely can! You can keep using the same bottle of homemade face serum for up to 18 months! The shelf life depends on the ingredients you use, and some natural ingredients can work as amazing preservatives.
Silicones
So there’s a bit of a debate going on about silicones right now, and generally, the accepted opinion is that they are okay in small doses. But silicone is not a natural product, yet it’s still used in many commercially made face serums. It’s the ingredient that gives the serum its lush and silky texture, allowing it to glide across the skin effortlessly.
While I don’t think silicone is dangerous I do think it’s good to consider more natural ingredients, so I don’t include it in any of my DIY face serums. You could consider experimenting with it if you really want, but why not give the natural alternative, olive squalene, a try first?
Olive Squalane
I use olive squalane in all my DIY face serum recipes, including my DIY face serum recipes. It’s a wonderful alternative to the less natural silicone that is more widely used commercially, adding that silky texture to our serums without introducing lots of different chemicals to our skin. It’s made from Mediterranean olive oil, which has been used as a skin care treatment for thousands of years. It works great in serums, but can also add wonderful properties to eye treatments and facial creams.

- Non greasy, 100% Ultra-Pure, 100% Natural.
- Squalane oil is made from a natural source – olives.
- Squalane is a #1 moisturizer and can be applied on its own or underneath an age-defying serum or cream.
- Promotes skin elasticity, helps to diminish age spots, and boosts cell oxygenation. Ideal for all skin types. Healthy, beautiful skincare year round.
- Squalane can be added to multiple cosmetic applications: face and body care, moisturizing creams, serums, lipsticks/lip glosses, makeup primers, sunscreens, cleansing lotions, foundations and tinted moisturizers or it can be used on its own. Recommended use level: 1 - 100%.
Squalane is actually a naturally occurring substance of the human body, not just in oranges! It’s produced when we’re young to hydrate skin and keep it shielded from the elements at such a delicate age. Many call it a ‘miracle in a bottle’, as it’s conditioning properties give you that ‘instant face lift’ glow that many commercial products promise but often don’t deliver.
To make it even more appealing, it’s actually a natural antibacterial agent! This is what keeps your serum fresh for longer, hence the 18 month shelf life of my DIY face serum recipes. You can also use it as a remedy for rashes, dry and otherwise compromised skin. Pimples, which are usually caused by bacteria on the skin, can also benefit from this little wonder.
I buy olive squalane on Amazon, it can be blended into pretty much any cosmetic or skin care product you can make, and if you’re quite crafty like me you could try adding it to your own collection of different recipes for different things. There’s not a moisturizer, treatment or face mask that wouldn’t benefit from a bit of this magic liquid!
Getting started with homemade anti-aging serums
I’ll say it again, just because I love saying it – these recipes for anti-aging serums will last for about 18 months. It’s also worth mentioning how easy these recipes are to follow. Many homemade skin care treatments require you to melt solid butters, waxes or oils. But my recipes are made with 100% liquid ingredients, saving you the time and effort of melting the ingredients and working quickly before they all melt.
Each recipe will produce around 50g, which is roughly 2 oz (or just under). If you’ve ever seen a serum for sale at a drugstore, you’ll notice that the bottles are tiny! 50g will be a lot, so consider dividing it all up into 2 or 3 small bottles which you can leave in the fridge for when they’re needed.
I’ll usually keep 1 for myself and give the other away as a gift. I can’t stress enough how amazing these are as gifts, and that special someone or your bestie will go nuts for it. Airless serum bottles can be bought on amazon and look amazing, or try bottles with a handy pipette style dropper for precision seruming (look, a new verb I just made up!). Whether you’re gifting or using it just for you, these bottles are a must buy.
The Cell Renewal Serum
The cell renewal serum is my absolute favorite homemade face serum. When I stumbled onto the recipe, it was advertised as the best treatment for dull, tired or aged skin, and it definitely does the job. You can feel it work almost immediately, but the real effects take a few weeks to set in.
Ingredients
- 25g Olive Squalane
- 10g Evening Primrose Oil
- 4 drops Neroli Essential Oil
- 2 oz Dropper Bottles or 2 oz Airless Serum Bottles
Method

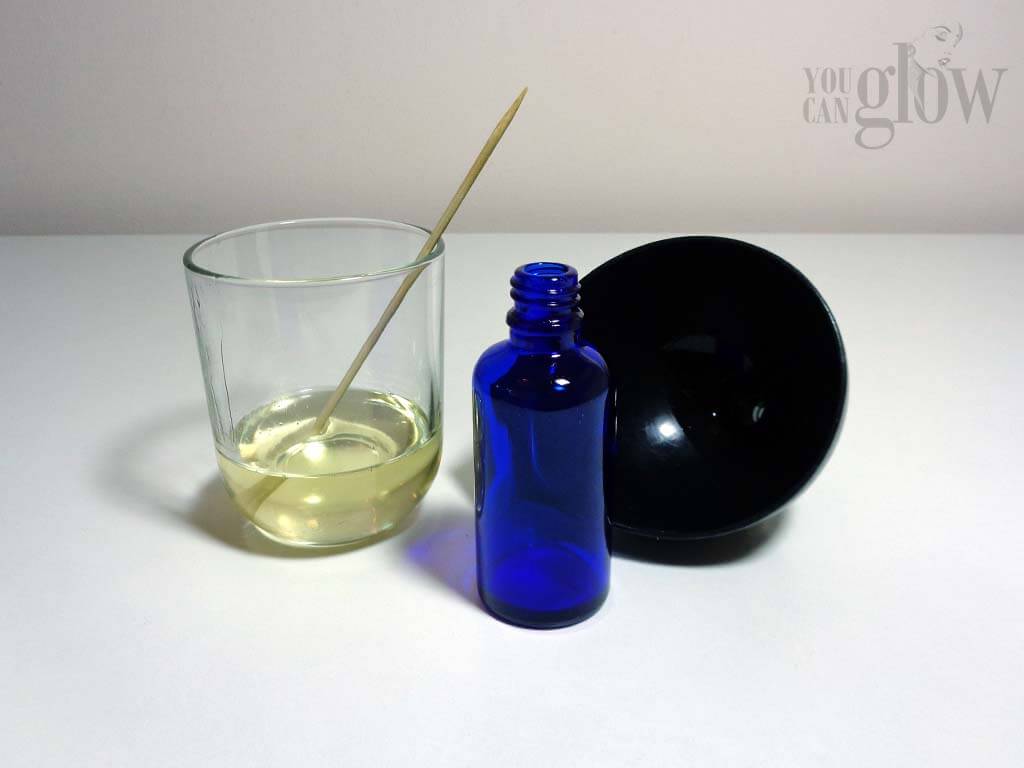
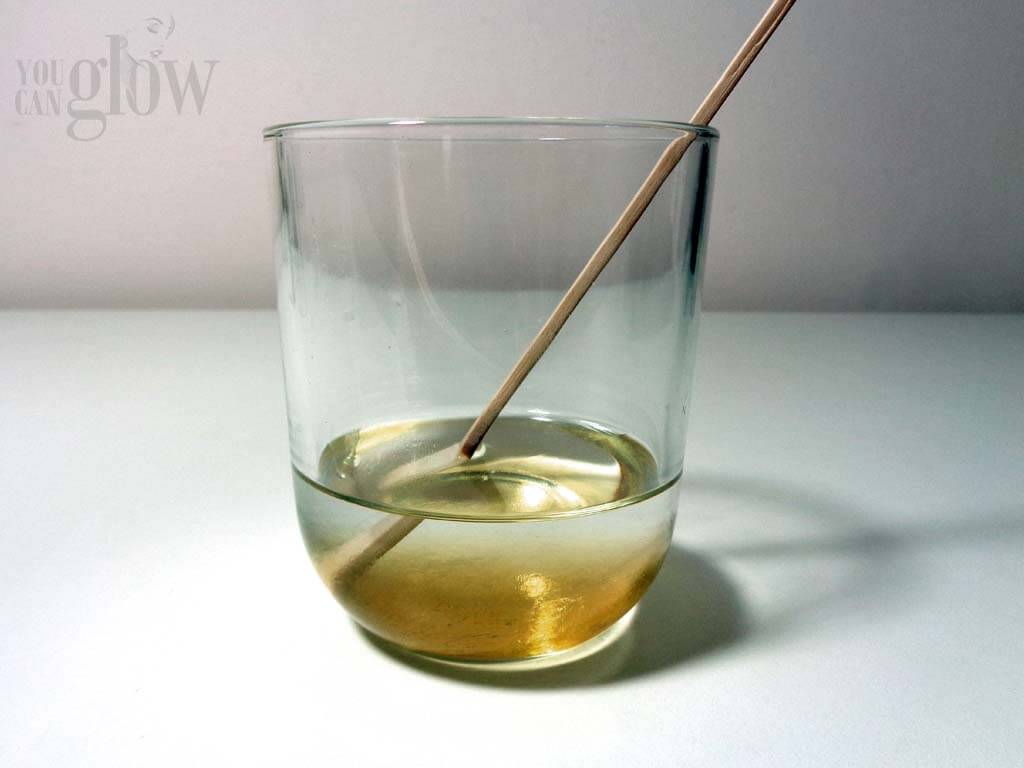
Place all of your ingredients into a small mixing bowl (a jar or a short water glass actually works quite well). This is pretty much the only step involved, but getting the measurements accurate takes a little hack that I always use for precision.
To get the right quantity of ingredients get yourself a digital weighing scales. Pop your mixing bowl on top and set your scale to zero. You can then add your ingredients, one by one, resetting the scale to zero each time you add an ingredient.

Notice that I’ve used grams, rather than ounces which just aren’t precise enough for such small quantities. Make sure your scales can read mass in grams.

Lastly, pour it into your bottles. The idea is that we’ll shake the bottle before every use, as the oils will naturally separate over time anyways, but try to give it a little stir before bottling. This will make sure the oils are evenly distributed across your bottles.
How to use your DIY face serums
As I’ve just said, don’t forget to shake the bottle before every use. This will make sure all the oils combine nicely for when we apply it to the face, ensuring you’re exposing your skin to each ingredient in their intended strength.
You should be applying this homemade face serum to every area of your face, being careful to avoid mucous membranes (eyes, mouth and nose). Let it get to work settling for a few minutes and then you can apply whatever moisturizer you like to use. This will lock in the serum and create barrier between your skin and the elements.
More recipes to try out!
Precious Oil Serum for Dry Skin
This little beauty is full of amazing anti-aging properties! It uses light oils that won’t collect dirt or bacteria, allowing your skin to breathe easy. This also means you won’t have any unpleasant greasiness, but at the same time they’re packed full of active ingredients that work on even the deepest layers of the skin.
Ingredients
- 15g Olive Squalane
- 10g Soybean Oil
- 10g Evening Primrose Oil
- 5g Borage Oil
- 5g Sea Buckthorn Oil
- 5g Rosehip Oil
- 1g Vitamin E Oil
- 3 drops Rosemary Co2 Extract
- 2 oz Dropper Bottles or Airless Serum Bottles
Liquid Gold
I like to call this fantastic recipe ‘liquid gold’, because unlike most of the recipes on this page, this one can actually be a bit costly to make. But boy is it worth the price tag! Argon oil and rose essential oil are both exceptionally expensive, but they also have exceptional benefits for mature skin. This makes the perfect, extra special gift for that extra special person!
Ingredients
• 45g Olive Squalane
• 5g Argan Oil
• 3 drops Rose Essential Oil
• 2 oz Dropper Bottles or Airless Serum Bottles
Magic Eye Serum
This DIY eye serum will melt away wrinkles and lines around the eyes and work to keep them looking fresh and glowing. But be careful not to get any in the eye itself! Consider using 1 oz bottles to store this, as we’ll only be using it in small doses at a time.
Ingredients
- 46g Olive Squalane
- 4g Rosehip Oil
- 2 oz Dropper Bottles or Airless Serum Bottles
Angel Kiss Serum
The angel kiss serum is absolutely amazing at restoring beautiful, luscious lips that are chapped or sore. I whip these up and use them during autumn and winter, when the weather threatens to strip lips of their natural luster.
Ingredients
- 40g Olive Squalane
- 2g Castor Oil
- 1g Vitamin E Oil
- 2g Jojoba Oil
- 2 oz Dropper Bottles or Airless Serum Bottles
Sweet Dreams Overnight Face Serum
Using this in conjunction with a great anti-aging night cream will knock out wrinkles and lines while you’re peacefully sleeping! Definitely worth a try!
Ingredients
- 40g Olive Squalane
- 2g Castor Oil
- 1g Vitamin E Oil
- 2g Jojoba Oil
- 2 oz Dropper Bottles or Airless Serum Bottles
All these DIY face serum recipes are top notch, and I strongly recommend you give them a try. Let us know how well they work for you in the comments section below, I love to hear all your stories! If you’re already using a face oil serum, let us know how these compare to your usual formula. Also, don’t forget to share any other recipes you’ve had luck with as well!

