If you’re looking for good diy face moisturizer to keep you looking fresh and youthful, then you’ve got to have a go at making this face cream recipe. When you pick up a cream at your local store and read the ingredients on the label, it’s almost impossible to work out what’s even in it!
But the main reason I make my own is the price, a good quality face cream is so expensive to buy!
Here’s The Bottom line. The majority of us could not afford to buy face cream of the quality I’m about to show you how to make, at a fraction of the cost.

It’s true that initially buying the ingredients may seem a little expensive, but for the amount you have to buy, you should have plenty enough to make lots of diy face creams. Enough to keep you moisturized for the next year or more. So really, we’re spreading the cost out.
So let’s take a look at some of the ingredients necessary for this face moisturizer, with a bit of information on each one so you know what it’s going to do for your skin.
Ingredients

- 70g Distilled or spring water
- 5g Olive squalene
- 5g Argon oil
- 5g Shea butter
- 5g Emulsifying wax ( NF, BTMS or Polawax I find are easiest to work with)
- 3g Cetyl alcohol
- 2g Vitamin E
- 2g Glycerine
- 0.5g Perseverative (optional)
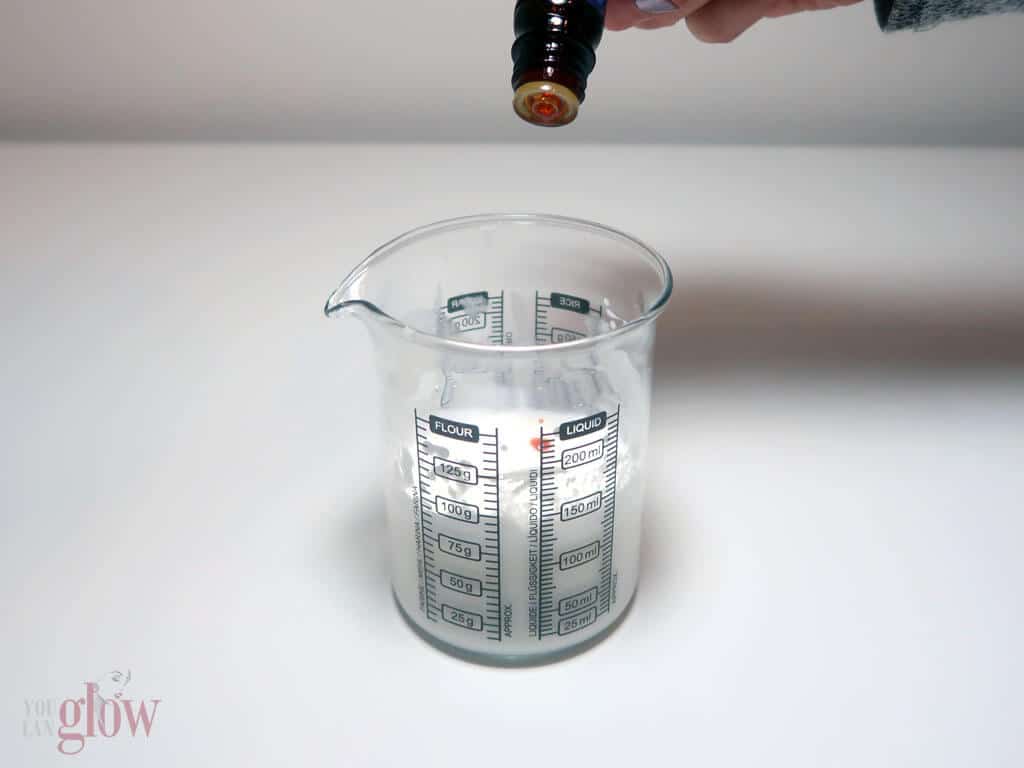
- 10 Drops of Rose essential oil
The Rose Essential Oil: A beautiful aroma with an abundance of excellent properties for the skin. Adding a few drops to a simple diy face cream can transform it into a first class anti-aging moisturizer. It helps fade marks and scars including broken capillaries, acne and medical stitches. Rose essential oil is also known for its anti-depressant qualities as well, and has been used as a tool in aromatherapy for this very purpose.
From personal experience, I’m not sure whether it’s the fact that I’m indulging myself in such an expensive oil or if it’s the inspiring, anti-depressant aroma that makes me happy when I’m using it. Either way it’s my all-time favorite essential oil, kept safely in a container at the back of my fridge.

- Pure And Concentrated Rose Oil: Artizen Rose Essential Oil is renowned for its exceptional purity and concentration, providing maximum benefits without any adulterants or dilution, making it ideal for relaxation and aromatherapy
- Avoid Cheap Rose Oil: Many competitors dilute their products with inexpensive carrier oils or harmful chemicals. Our rose essential oil is rigorously tested for purity, ensuring you receive the highest quality oil available
- True Rose Oil Content: Beware of misrepresented "100% oil" claims. Many 4-ounce bottles contain only one-third natural oil. Our 1 Fl Oz bottle is filled with undiluted, light pink liquid rose essential oil, perfect for all seasons
- High Quality Glass Protection: Our oils are bottled in high-quality glass with a UV coating to protect against sunlight and degradation, ensuring long-lasting purity and effectiveness
- Trusted Quality For Skin And More: Our pure rose oil is perfect for aromatherapy and essential oils for skin. Incorporate it into winter essential oil sets or gift it as a luxurious holiday present
The Shea Butter: Absolutely brilliant at hydrating and softening the skin. It has a rich source of vitamin A, E and cinnamic acid which forms a breathable, water resistant and protective barrier between your skin and the elements. This butter is pretty much the number one choice for moisturising. That’s not to say that you shouldn’t experiment with other butters.
A good alternatives is Murumuru Butter, which is great for anti-ageing as it can help to restore elasticity to dry and damaged skin. Avocado Butter will give a green tint to your cream, but is packed with vitamins and minerals that protect, heal and repair, so is also worth considering.
The Argan Oil: Extremely good for dry or mature skin, absorbing quickly and totally into the skin. This helps to transport any essential oils that you’ve added deep into the skin. Argon oil is also a very hydrating oil that’s rich in vitamin C, helping to keep your skin supple and looking fresh.
A great alternative to experiment with is Avocado Virgin Carrier oil, which I really can’t praise enough, it’s a wonderful all-rounder and good for absolutely everything. Again this will turn your cream a greenish color, but it shouldn’t leave a trace of green on your skin.
The Olive Squalene: A similar feel and texture to commercial silicones which glide across the skin, leaving a silky smooth feeling. Olive squalene is a little oilier than commercial silicones, but as far as I’m concerned it’s superior and much more extravagant then any silicone you can buy.
We all produce Squalene naturally until around our mid-twenties, its job is to protect, moisten and accelerate cell growth (in other word keeping us looking young). Olive squalene is very similar to the version we produce ourselves, so it’s easily absorbed into the skin giving a host of skin nourishing benefits. Probably why this stuff is often referred to as a face lift in a bottle.
The Cetyl Alcohol and Emulsifying Wax: These are mainly to bind the oils and water together and to add a thick and creamy feel to the finished cream. They are non-toxic and will add skin softening and conditioning qualities.
The Glycerine: I’ve added a small amount of glycerine to attract and trap moisture into the skin, helping to keep the skin looking plump and moisturised for longer.
The Vitamin E Oil: A powerful oil that has healing properties, although other benefits include; lightening of scars and dark circles around the eyes, reversing signs of ageing, anti-inflammatory, moisturising and improves the production of collagen.
The Preservative: This is totally down to personal preference, and you absolutely can omit this. However, please keep in mind that if you don’t use one, you will only have a short shelf life of around 2 weeks and must be kept in the refrigerator. Adding a Preservative at 0.5g to 1g will give you a shelf life of at least one year.
Important Notes:
- It’s not easy weighing out very small quantities. Using a digital jewelry scale will make this much easier. Place your container on the scales and press the tare (T) button. This will bring it back to 0 so that it’s not weighing the container as well as your ingredients.
- Add one ingredient at a time to the container, pressing the tare (T) button after each one. Try to keep as close to the measurements as possible but don’t panic If you go over or under by a gram.
- Use a dropper for the preservative, as you need to be pretty darn accurate for this. You can have between 0.5 to 1g, but no more.
How to make it
Step 1 In a small Pyrex jug or beaker, weigh out and mix together your water and glycerine.

Step 2 In a separate Pyrex jug weigh out and mix together the oils, olive squalene, argon oil, shea butter, emulsifying wax, cetyl alcohol and vitamin E.


DO NOT add the rose essential oil at this point, put it to one side and we’ll use it later.
Step 3 Stand both pyrex jugs into a flat bottomed sauté pan, filled with around an inch of water.

Step 4 Heat the water until it begins to simmer. Continue simmering until the oils and waxes are completely melted and the water and glycerine have heated through. This could take around 20 minutes.
Step 5 Once the oils have melted and the water/glycerine heated, remove from the heat and pour the water into the oils.


Stir or whisk with a spoon or mini whisk. I whisk for about 1 minute and then leave for 3, repeating until the cream has begun to cool and thicken.
If you’re using a mini whisk, try to keep the whisk low so as not to create too much foam.

Step 6 Once the cream has thickened and feels relatively cool, mix in the preservative (if using) and the essential oil. (See tips on adding small quantities).

Step 7 Transfer the cream into a glass or plastic PET jar and label it so you don’t forget what’s in it and when you made it.
Final Thoughts
This diy face moisturizer is a great combo between gorgeous aroma and luxurious moisturizing. It will fight off those unwanted lines, and work to soften hard skin and restore elasticity.
I make these in batches of about 3, and give one to my two best friends and keep one for myself. Everybody loves it, you really couldn’t go wrong with this as a gift.
I definitely recommend giving this cream a go, especially if you just can’t find a store-bought alternative that works for you. Experiment with the different ingredients and try some of the alternative suggestions I’ve made. You might find it works even better for you!

